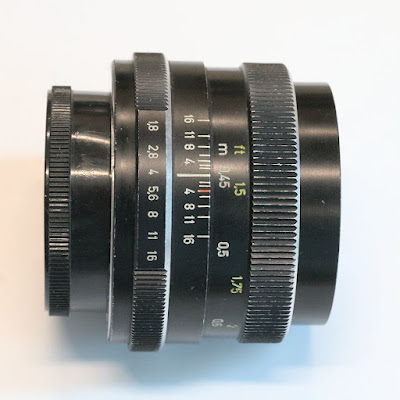
The Voigtländer Color-Ultron 1.8/50mm was built in Singapore from 1974-1977. The original Ultron (with the legendary concave front element) was designed by Dr. Albrecht Tronnier while Voigtländer belonged to Carl Zeiss. When Voigtländer was acquired by Rollei, they commissioned Zeiss to design a less expensive lens to be manufactured in the Rollei factory in Singapore. This lens was sold as the Rollei HFT Planar and also as Voigtländer Color-Ultron. It has 6 elements in 5 groups. It has multi coating and a 6-blades aperture. This is the M42 version - there is also a version for the QBM mount. It is one of the sharper 50mm lenses in my collection and I love its color rendering.
This page has a very detailed description of the development of this lens (use Google translate).

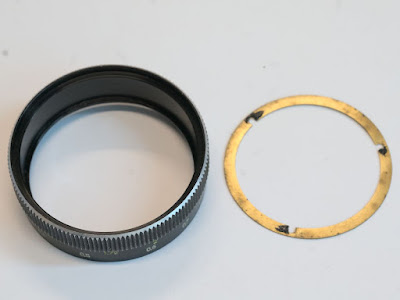
I got mine with a small scratch on the front glass (which does not affect picture quality), but otherwise in good condition. The focusing was a little stiff, and over a few months, the aperture stopped working. So, it was time for a CLA. There is very little information out there on repairing this lens, so maybe the following pictures will be helpful.
Today, I'm too lazy to write much text, so I'm only posting the pictures of the disassembly.
Now from the back side.
Careful: Don't lose the little ball for the aperture click.
From here, you go backwards. I would recommend, first, to assemble all of the front side. The assembly of the back side is some pain. In one step, you have to ensure that three elements fit together - at the same time: The connection for the aperture ring, the helicoid key and the connection for the aperture stop-down pin - while simultaneously making sure that the ring (front left in the 15th picture) is correctly centered. This took me forever. So, I would conclude that this is not the easiest lens to work on.
But now the aperture is working again, and the focus is super smooth. It will be fun to use this great little lens again!
More of my lens repair tutorials can be found here.


