
Previous post: GERTY 3000 - Part 1: Getting Started
The Screen Holder
As I mentioned before, I am building GERTY, starting with the 7" LCD screen. There are some 7" screens with a resolution of 800x600 pixels, but I decided to get this one, with a slightly higher resolution of 1024x600 pixels.
(as an Amazon Associate I earn from qualifying purchases)


Here is my screen. First tests with a RaspberryPi confirm that it displays nice sharp images, with vibrant colors - just good enough for the Gerticons. It is operated by 5V, and I am using a second power supply, so it's independent of the Raspberry Pi's power.

I am using this screen as a starting point. I will build the holder for the LCD screen, to preserve the proportions (screen size vs. frame width). And I will build the rest of GERTY to match this. GERTY is built from 3/16" plywood using a laser cutter.


Reference Images
With the screen holder finished, I am using reference images from Gavin Rothery's blog to build the rest to match the proportions of my screen holder.
The numbers in the images correspond to readings in arbitrary units on my computer screen. In the table on the top right, my readings are then translated into inch. Using another of Gavin's images, I can derive the size of the original prop.

Assuming the person on the right to be 5'9", my GERTY is about 85% of the original size (or 90% if the person was 6'). For me, that's close enough. It certainly feels like "real life size".
The Enclosure
I am starting with the pieces for the "main body".


Here I am adding a few wooden pieces to the edges and corners, to enhance the stability.

Spackling paste...

... and sanding.

A closer look reveals some shortcoming in my planning: I should have included the large hole (for the eye) in the laser cutter file - but I forgot, so I had to cut it by hand. Fortunately, later the poorly cut circle will not be visible as it will be covered by an additional ring.
The pieces for the raised detail on top of the main body.


And these are the pieces for the angled part at the bottom. I have added holes as a speaker grille to the bottom piece.


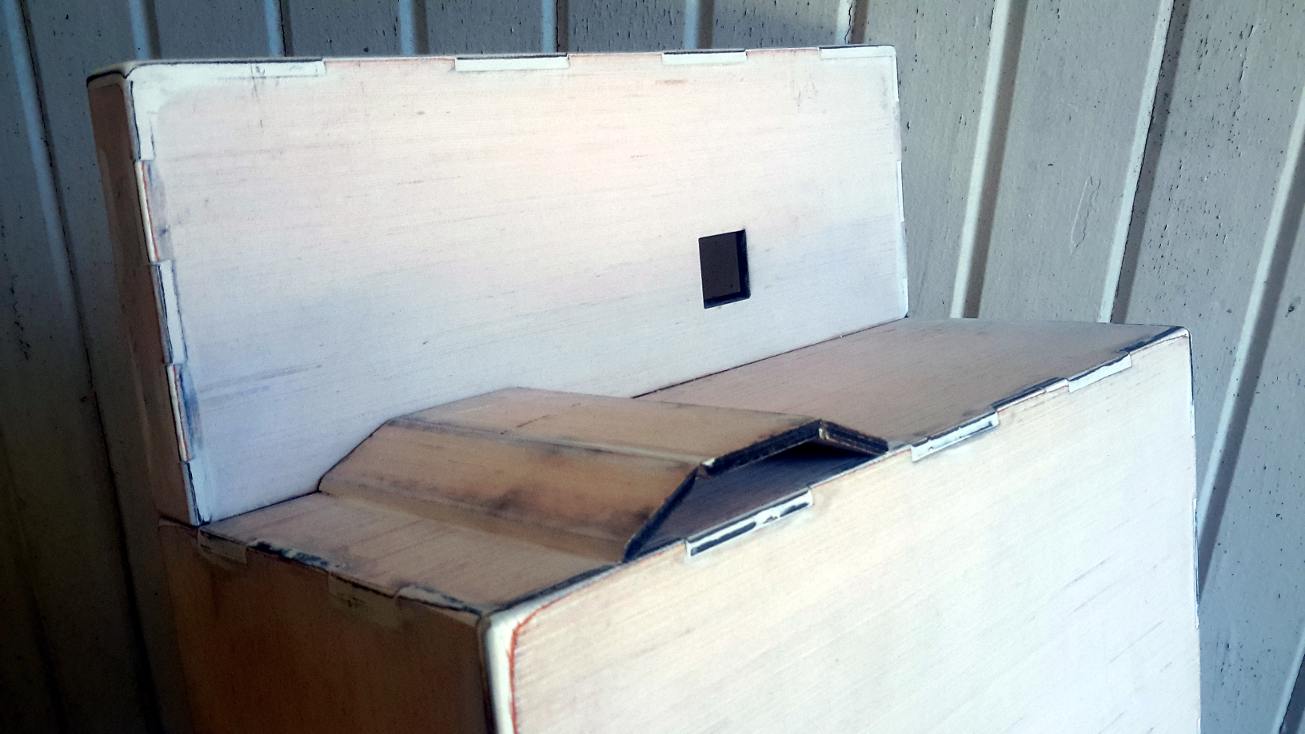
Now comes the back plate that is mounted at the top of the main body. It has a squared opening to hold the PIR infrared motion sensor.


It's the oddly shaped detail on the left was real fun to design and build.


The cup holder is made of three pieces...


...and glued between the left detail and the main body.

I like the phase of a build where you can already clearly recognize the prop. And this one is really starting to look like GERTY!

Of course, I also need that beautiful plate that sits around GERTY's eye.

And here is everything, with the screen holder in place.


Initially, I thought about ignoring the piece at the very top, but then I thought, it will add a lot to the build, simply because of it's darker color. So here we go ... it's shape is also a little more complex.


Now I get to the bottom pieces with their funny/interesting looking details.


And here, finally, everything is in place (except for one more piece, for which I decided later to add it).


Yes, that's GERTY 3000.
Painting

I am using cheap acrylic paint, plus the Polycrylic finish (all water based). I add a little water to the acrylic paints. This requires more layers of paint, but the results are better.
I am starting with the dark pieces.


And the rest is painted in granite gray.


It's looking great. But something is still missing...
One more Detail
GERTY is all about the many little details. And there is one detail on the right side which clearly adds something - so I want that too.


Yes, this looks much better!
... to be continued ...
other GERTY-related posts:
No comments:
Post a Comment