
My other blog posts on BTTF props:
Part 1: Building a Flux Capacitor
Part 2: Building the Time Circuits
Part 3: Building the Speedometer
Part 4: Building the Analog Gauges
Introduction
The TFC switch is the center piece of the time machine. It is certainly not as attractive as the Flux Capacitor, the Time Circuits, and not even as the Speedometer or the Analog Gauges. But it is the unit that turns all the others on and off.The most recognizable elements are the handle (built from a battery terminal cleaner like the Lynx 3-in-1 battery brush, https://www.pepboys.com/lynx-battery-brush/product/9405475) which is mounted on a Dayton Drum Switch (https://www.grainger.com/product/DAYTON-Maintained-Reversing-Plastic-2X442, with the top cover replaced by transparent acrylics). Other than that, it consists of eight switches, one potentiometer, and two lamps, all in a Radio Shack project box (8 x 6 x 3 inches, Model Number 270-274). The labels are matching the other labels on the time machine pieces, either from a 1980's style label maker, or with a white Eurostile Bold Extended (or Microgramma Bold Extended) font on a red background.
Using the above links, one could simply buy all the pieces and get a very precise reproduction of the original prop. However, the drum switch alone costs more than $100. Like my other props, I want to build this thing from scratch, mostly using wood (plywood) and a laser cutter.
Building
I am starting by cutting all pieces from 3/16" plywood with a laser cutter.

Here are the pieces for the bottom box, together with the switches and lamps. I got all the switches and lamps from Aliexpress. While the lamps in the original prop have beautiful jewel lenses (which you can still get ... but not cheap), I used two LED lamps of similar size with simple, but good-looking plastic covers.


Here are the pieces for the Drum Switch.

First, the holders for the rod are painted black.

The side pieces are glued onto the base plate.

Some wires and PCB pieces are used to make the inside of the switch look interesting.


Now, the challenge is to bend the acrylics plate to shape.

The first half went really well...

... but the second half became really ugly. The acrylics bent weirdly, and at one screw hole it broke. This will be redone later.

Some labels are made using a Dymo label maker, and the others are printed on 4"x6" photo paper. Those for the enclosure...
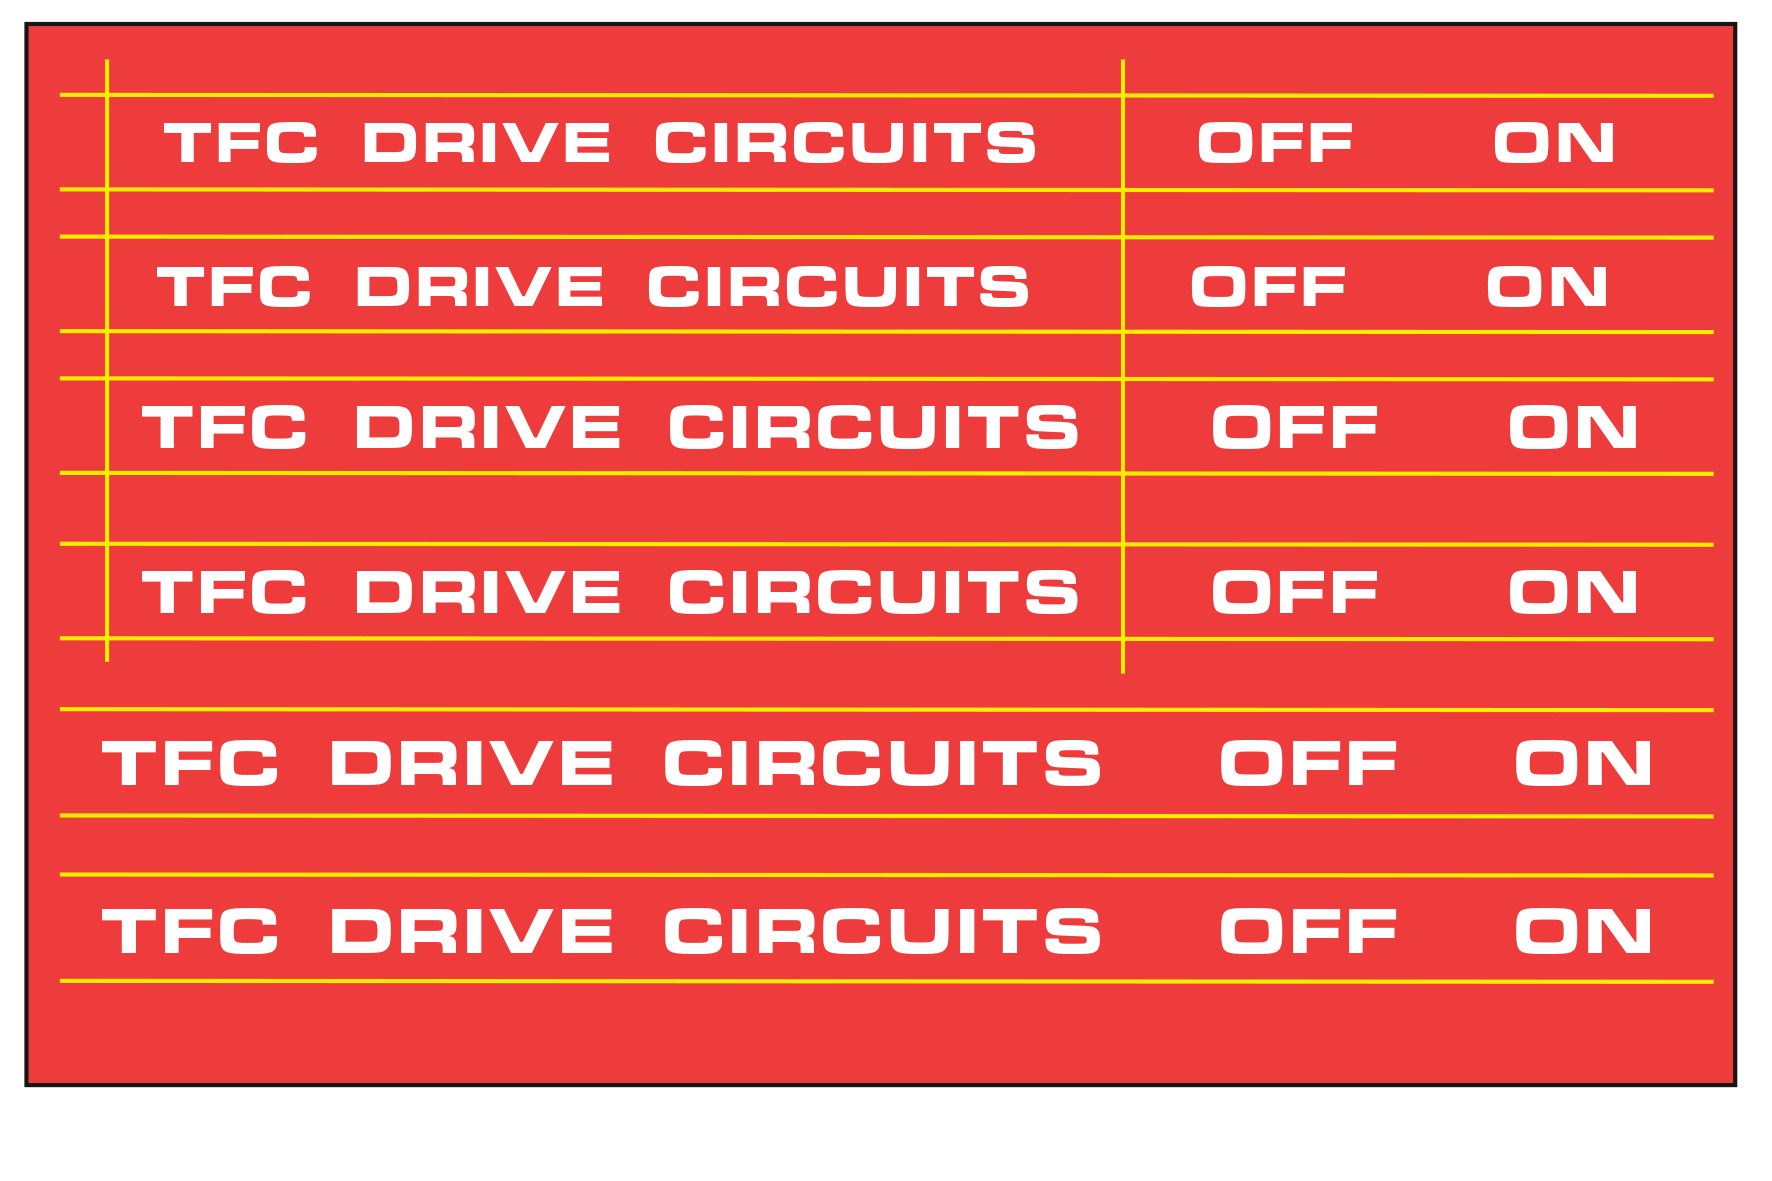

Then they are glued onto the box.


After another acrylics plate was bent for the Drum Switch (this time successfully!), the TFC Switch is complete. This is how it looks from all sides.


- Building a Hoverboard and Charger
- Building BTTF clocks
- Building a BTTF Brick Stage (featuring the smallest Flux Capacitor)

This looks really nice already (remember: the warped acrylics will be replaced!).


I am planning to use the Drum Switch to actually turn on/off the while time circuits, so I need to add some functional switches. For this purpose I am adding two micro switches which are closed by a lever in the Drum Switch.

In this configuration, my Drum Switch is not an on/off switch. It is only pressing two momentary push buttons (the micro switches). The on/off effect is later done in software.

I did say that I am building everything from scratch: Here is the handle for the switch. (The ends of the switch are not angled like the ones on the original battery terminal cleaner. I did not know how to achieve this with my wood-tools.)

And the lever can be seen here in contact with one of the micro switches.

The Drum Switch gets the original "Dayton" sticker.

Inside the TFC switch is an Arduino Pro Mini which is reading the switches and operating the lamps. Via serial connection this Arduino is communicating with the Arduinos in the other components of the Time Machine.


Related:
My other blog posts on BTTF-related props and pieces:
- Building the Time Circuits- Building a Hoverboard and Charger
- Building BTTF clocks
- Building a BTTF Brick Stage (featuring the smallest Flux Capacitor)
you are a legend thank you so much. waslooking for 3d printed files but this is next best thing
ReplyDelete