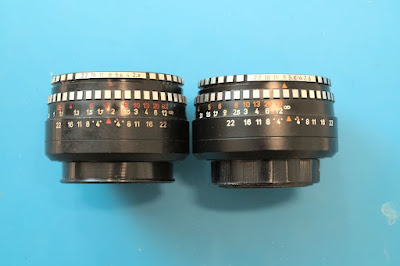
The Meyer-Optik Görlitz Domiplan 50mm f/2.8 lens is a simple triplet. It used to be the inexpensive "kit lens" for Praktica SLR cameras, and it's still liked by some for its special rendering and its "Soap Bubble" bokeh. It has a fully automatic pressure diaphragm, meaning that the aperture closes whenever the stop-down pin on the rear is pressed. This also means that if you want to adapt it to a mirrorless camera, you need an adapter with a "lip" that presses this pin (otherwise, you can only use the lens wide open). Fortunately, those adapters are readily available, and they are cheap ($12 on eBay).
Unfortunately, many of the of the available Domiplan lenses have at least one of two problems:
- The focus is stiff - sometimes extremely. This is due to the old grease in the focusing helicoids becoming sticky.
- The aperture is not working, i.e. the aperture is wide open and pressing the stop-down pin has no effect. This may be caused by oil on the aperture blades or by a disconnected mechanism in the back piece.
In any case, if you own a Domiplan lens, it's helpful if you know how to clean and fix it. Overall, this is relatively easy. What you need is:
- a rubber tool to remove the front ring (see the first step), although you maybe able to improvise here
- quality screwdrivers
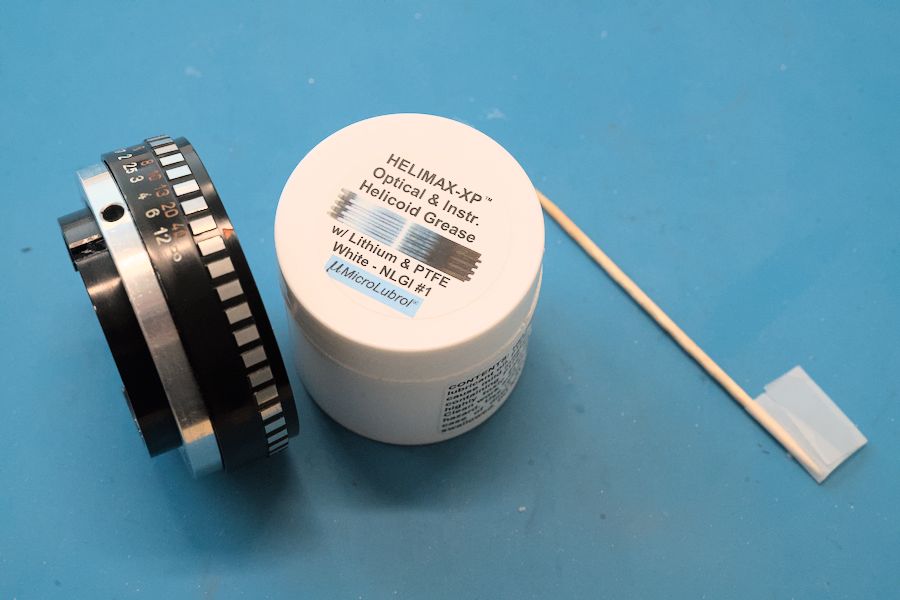
- cotton pads plus lighter fluid (for cleaning the aperture blades) and isopropyl alcohol (I use the 91% version) for cleaning the old grease from the focusing helicoids
The front piece with the name plate is extracted using a rubber tool.
For older version, this piece was made of metal (left) while later it was made of plastic (right).
As a general rule: whenever you remove a piece, clean all surfaces with isopropyl alcohol using a cotton swab.
After it is removed, the aperture ring (with the simple spring) can be taken off. But watch out so you don't loose the tiny metal ball on the aperture ring.
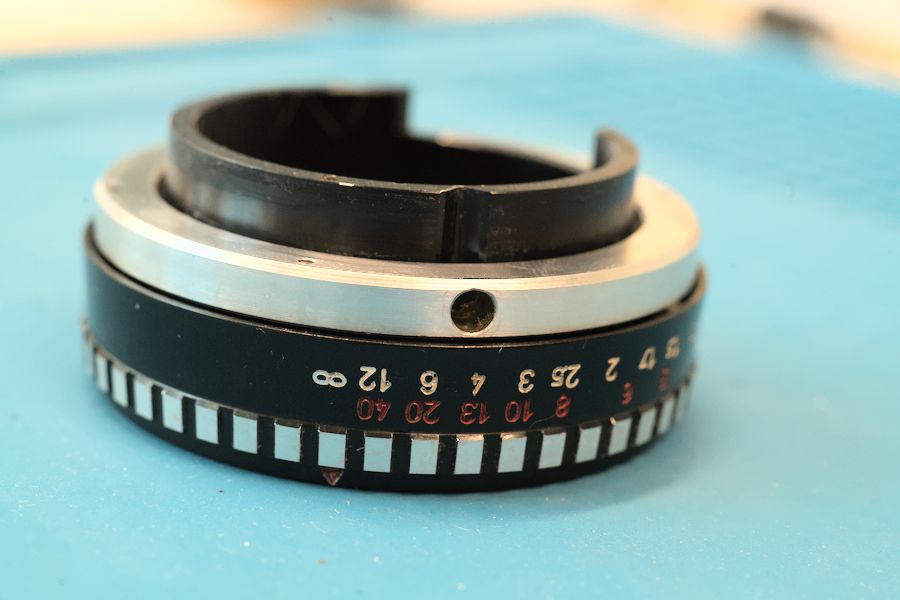
The back ring can simply be unscrewed by hand.
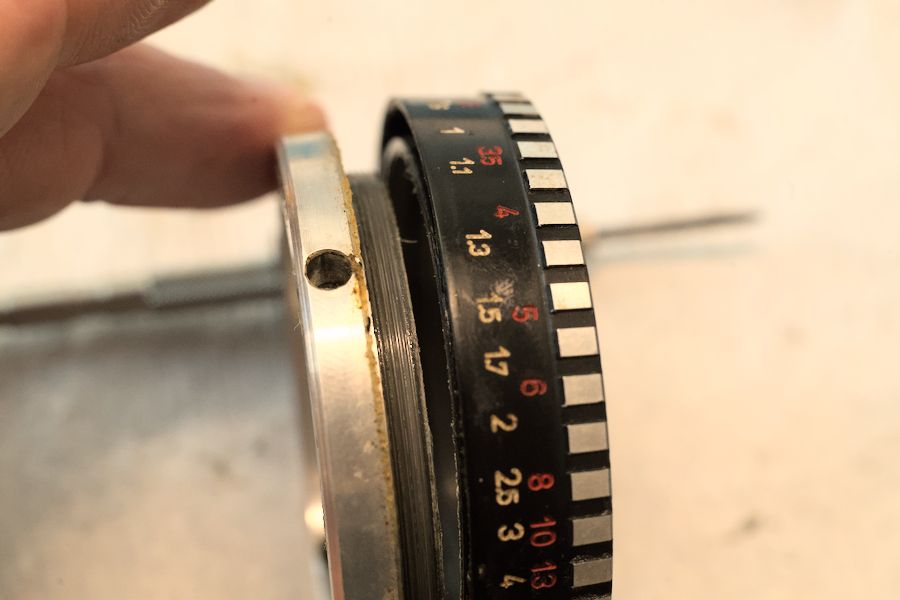
The next step is to loosen the three screws in the piece below. Watch out for the two springs!

Before removing the springs and the metal pieces (which guide the focusing helicoid), be sure to set the focus to a well-defined position (I set it to infinity) and make sure not to change this afterwards.
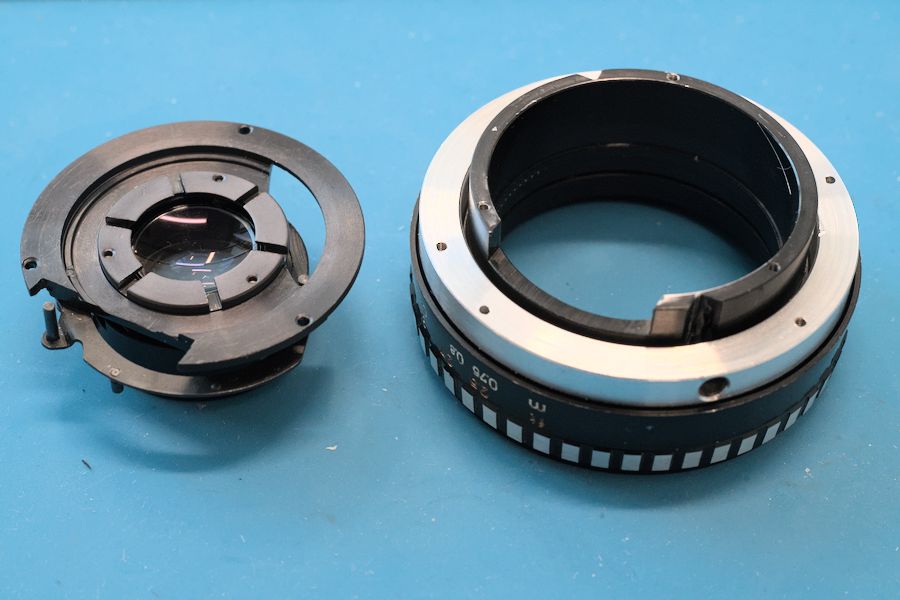
Removing the next three screws gives access to the aperture blades. So, be very careful when removing these screws and lifting the piece.
The whole piece with the aperture blades sits lose and can be lifted.
Initially, the aperture blades are still in their correct positions (but the slightest touch will make them come off).
Reminder to clean all pieces - there is more oil/grease/dirt than you would imagine. And at the end it's nice to know that your lens is completely clean inside. And in this case, it's absolutely necessary to remove all oil/dirt, to ensure that the diaphragm works well.
Sometimes, you may be able to clean the aperture blades in place. But here, I decided to remove them to get full access and clean everything really well.
I have no pictures of cleaning the aperture blades. But I placed them in a small glass container, filled with isopropyl alcohol. After a little while, I took them out and cleaned them with a cotton swab and lighter fluid. You have to be extremely careful here. If you bend the thin metal of the blades, there is usually no way you will be able to make them flat again - and this ruins the aperture.
With the focus set to infinity, remove the springs and metal pieces (if you have not done this yet).
Carefully remove the focusing helicoid (clockwise, as seen from the front) and remember exactly the position when it comes loose. For my lens, this happened after almost one full turn - and I took this picture, to document where it happened. Unlike regular screws, the helicoid has multiple entry points, and if you insert it wrongly your lens will not focus correctly (you may not be able to reach infinity).
This looks much better!
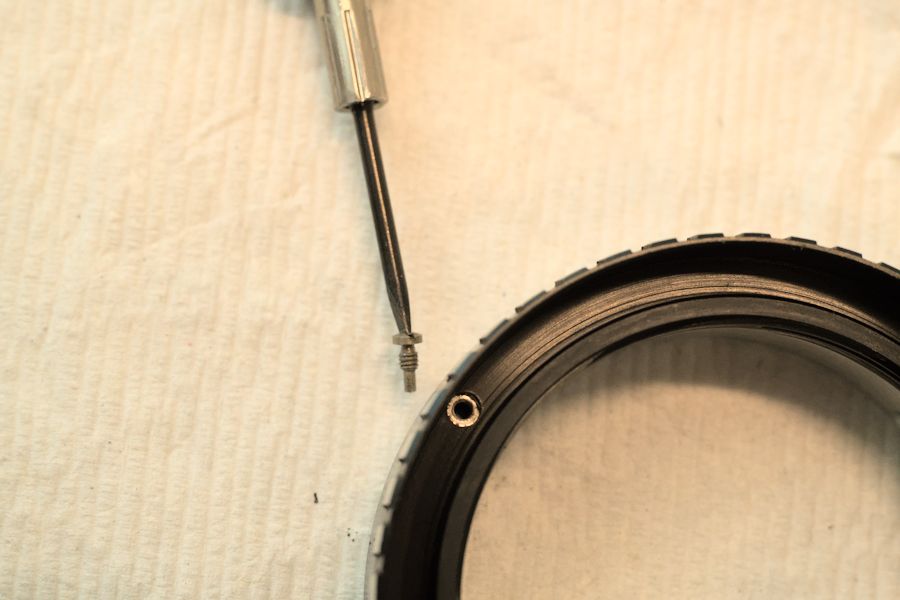
This screw is limiting the focus range. Remove it to access the second, fine helicoid. Again: start from a well-defined focus setting (before, I had set it to infinity, and I keep it there).
After removing the focus-limiting screw, I check by how much I can further insert the focus ring. Starting from the infinity position, I can turn the focus ring clockwise (seen from the front) by another approx. 45 degrees before it gets stuck. Then, back from the infinity position, I can turn it about 6 1/2 turns counterclockwise (seen from the front) before it comes loose.
This is where it comes loose.
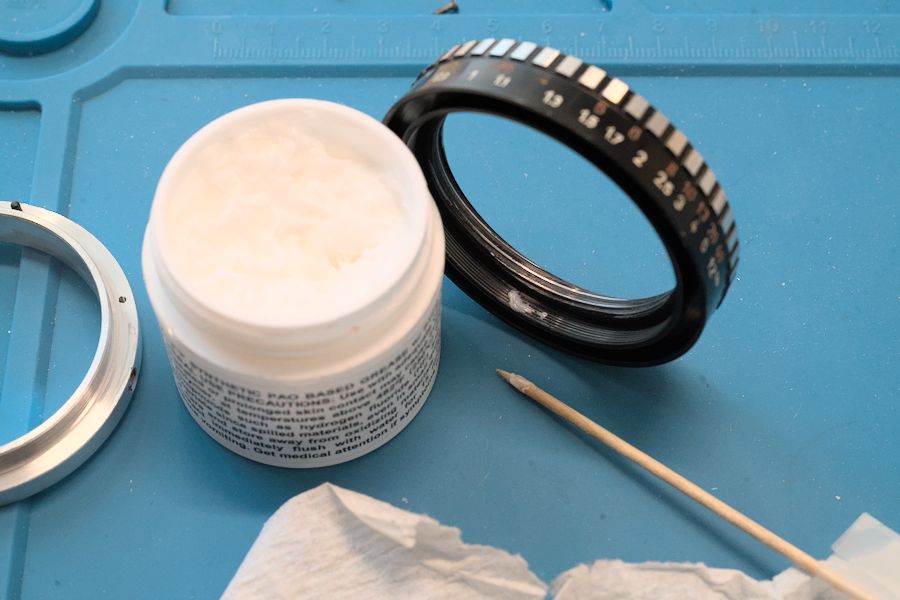
Cleaning the old grease.
Adding very little helicoid grease.
Insert the fine helicoid where it came loose, and turn it clockwise. In my case 6 1/2 turns - then I check if I can turn it further by the approx. 45 degrees that I noted above - so I know it sits correctly. Now, I turn the ring forth and back many times to distribute the grease evenly. If you hear the sound of metal on metal, you may want to add more grease. If the ring turns with too much resistance, take it out and remove some of the grease. Better iterate this a few times, since this will determine how smooth your lens will focus.
Insert the focus-limiting screw.
First, I make a "dry-test", to see if I can insert the coarse helicoid exactly as it was before.
Then I add helicoid grease, and insert it .again. Again, I rotate it back and forth, to distribute the grease evenly.
I set it to the infinity position (aligning the holes and the notches).
Then comes the (not-so-) fun part of assembling the aperture.
Adding the first blades is easy...
...but the last two can be painful. For me, it helps when I move the aperture pin carefully in and out. When doing this for the first time, it may take a while. But eventually, you get a feeling for this.
Once the last blade sits in its place, carefully close the diaphragm (using the long pin) by a small amount, and cover the aperture with the back-glass element. (If you leave it full open, the back element may touch some of the blades, displace them, and force you to go back to the previous step - and you don't want that!!)
Before inserting the metal pieces (the helicoid keys), add a little grease to them...
... and also to the slots in which they move.
Then you insert the springs.
At this point, you should try to understand how the aperture stop-down pin on the back of the lens connects to the long lever inside the lens to stop down the diaphragm. Otherwise you may not be able to put the back piece correctly back.
Look at the back piece (the right one in the above picture): The aperture stop-down pin on the back of the lens can move the "little piece" (I don't know what to call it otherwise) to the inside. The pressure from the diaphragm lever (left piece) will push it back. So the "little piece" has to be in the up position, so it can connect to the long level from the diaphragm.
Before inserting the two springs, try to connect the two pieces, such that pressing down the aperture stop-down pin will close the diaphragm.
If you thought that the reassembly of the aperture was the worst part, you were wrong. The worst part comes now. You have to insert and press the two springs while adding the back piece as practiced in the previous step. I think that this is an awful construction, since this is hardly possible. It's easy to bend the springs while doing this.
Eventually, yo may succeed. Again: check that the stop-down pin works!
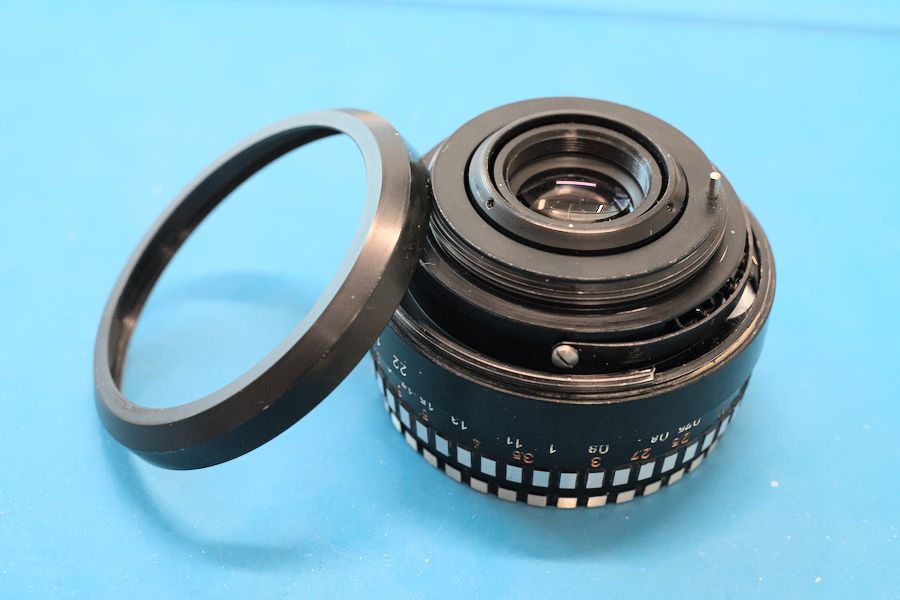
The rest is straightforward: Add a little grease to the spring in the front, place the metal ball in its hole and insert the aperture ring (test that you can rotate it from 2.8 to 22 and that it clicks correctly).
Insert the front ring...
...and the back ring...
And here is your Domiplan lens. As good (or as bad...) as it was when it came from the factory, a long long time ago.
More of my lens repair tutorials can be
found here.


No comments:
Post a Comment