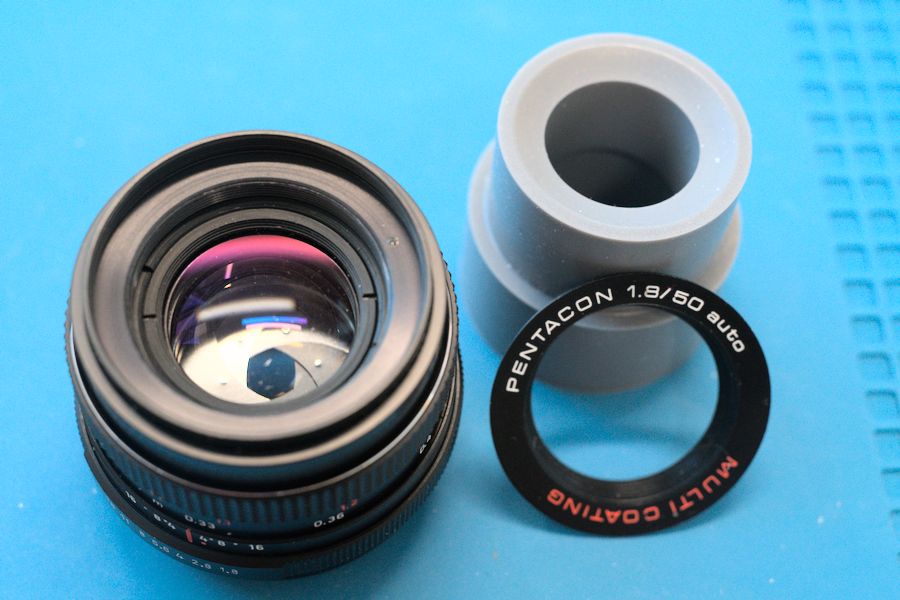
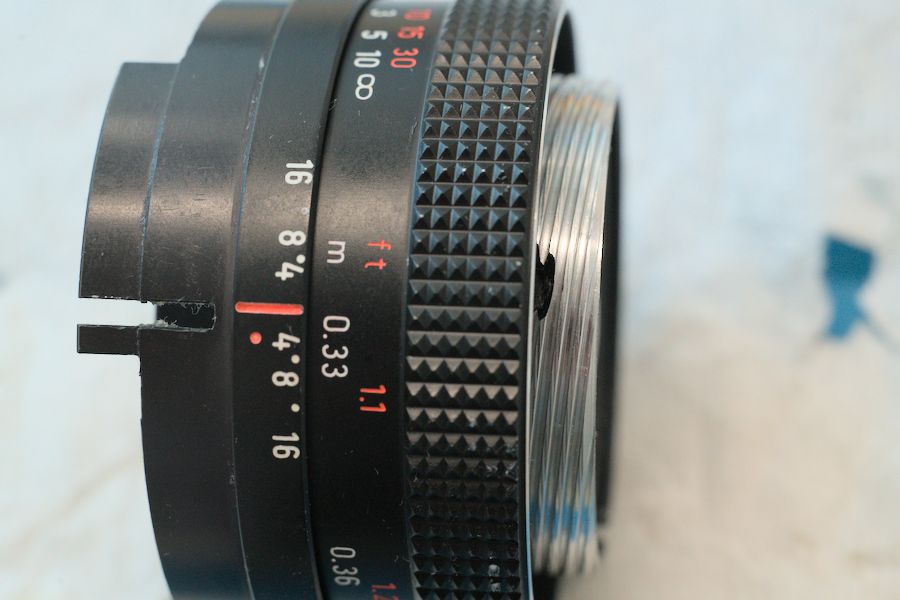
When the Meyer-Optik Görlitz company was merged in the VEB Pentacon, the continued to produce the same lenses under the "Pentacon" name. Sadly, all their beautiful names (Oreston, Orestegon, Orestor, Orestegor) were dropped, and everything was simply "Pentacon". So, the former Meyer-Optik Görlitz Oreston 50mm f/1.8 became the Pentacon 50mm f/1.8. There are three different versions of the Pentacon 50mm f/1.8, as shown in the picture above. The left one is identical to the former Oreston. Next came the middle one which is looking somehow like the Minolta and Canon lenses of that era, but with a red distance scale. This version also has multi-coating. Later the distance scale was changed to green (right).
The Pentacon 50mm f/1.8 is famous for its painterly bokeh wide open, and for its sharpness when stopped down. And often, it can be found rather cheaply, frequently together with a Praktica camera. However, in most of these lenses the old grease became stiff, making the focusing hard. And often oil on the aperture blades causes the aperture to get sticky and close either slowly or not at all. So, to enjoy working with the lens, it needs some cleaning and re-lubing. Here, I'm showing this for the "red" (middle) version. Instructions for other versions of this lens can be found here.
General Recommendations
First, you need tools like a lens spanner and (good!) screw drivers. For cleaning the metal surfaces, I am using cotton swabs and high percentage Isopropyl Alcohol (I got 91%) for all metal surfaces and the glass - and lighter fluid (Zippo) for cleaning the old grease in the helicoids). You also need helicoid grease.
I strongly recommend to take photos of every single step along the way. Whenever I take off a piece, I first try to understand how it was connected and what it did, and then I clean immediately all of its accessible surfaces with alcohol-soaked cotton swabs.
Disassembly
At this point, I would try to clean the aperture in-place - without disassembly. Most of the time this works very well. But in this case I had to open it.
Now we continue with the back side.

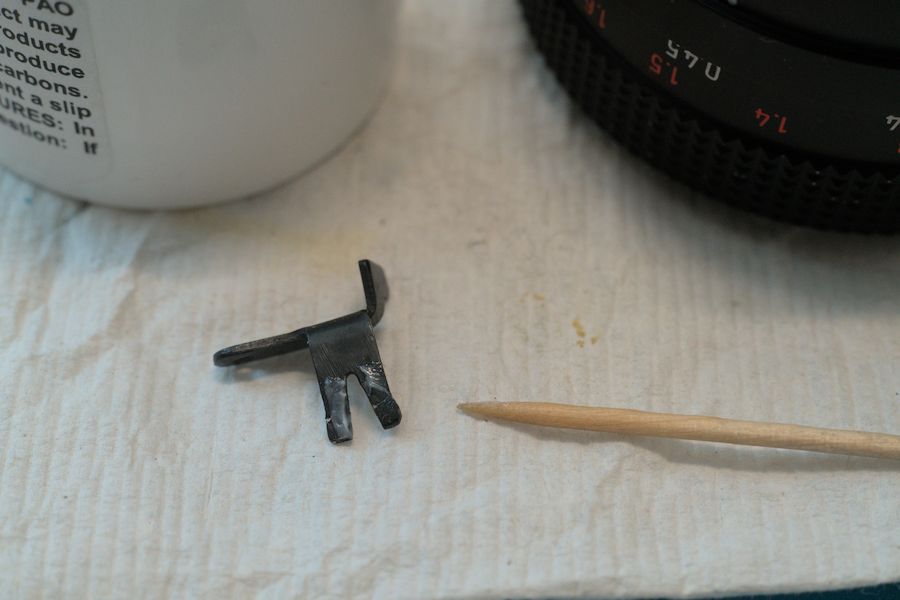
In the next step, be careful not to lose the ball for the A/M switch.
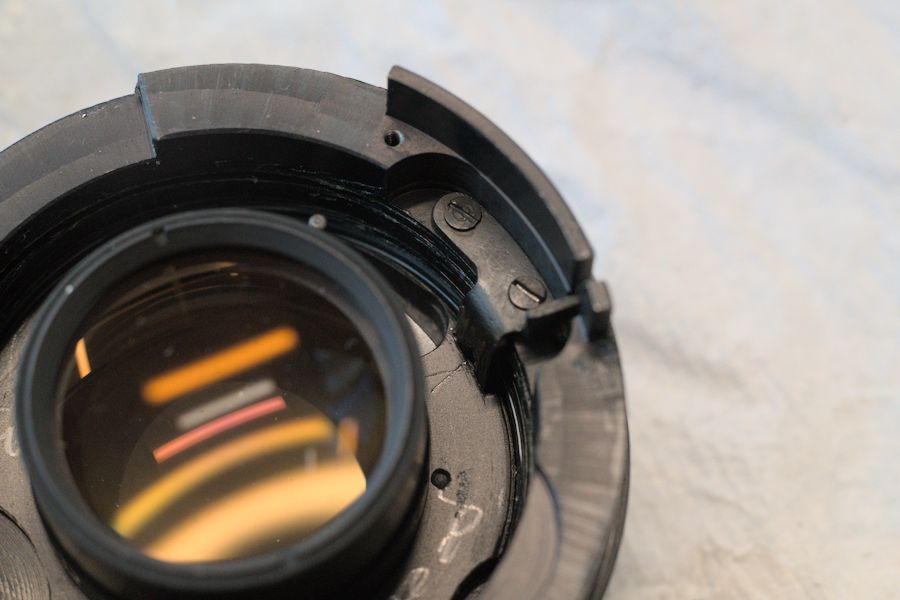
Warning! There are three small grub screws that hold the rear glass element. And it seems like you could take these out to separate the rear glass and to get access to the rear side of the aperture. But don't open these. These grub screws are used to align the rear optics - and once removed, you will never be able to align the optics again, as this requires special tools.
Be careful not to lose the ball for the aperture ring.
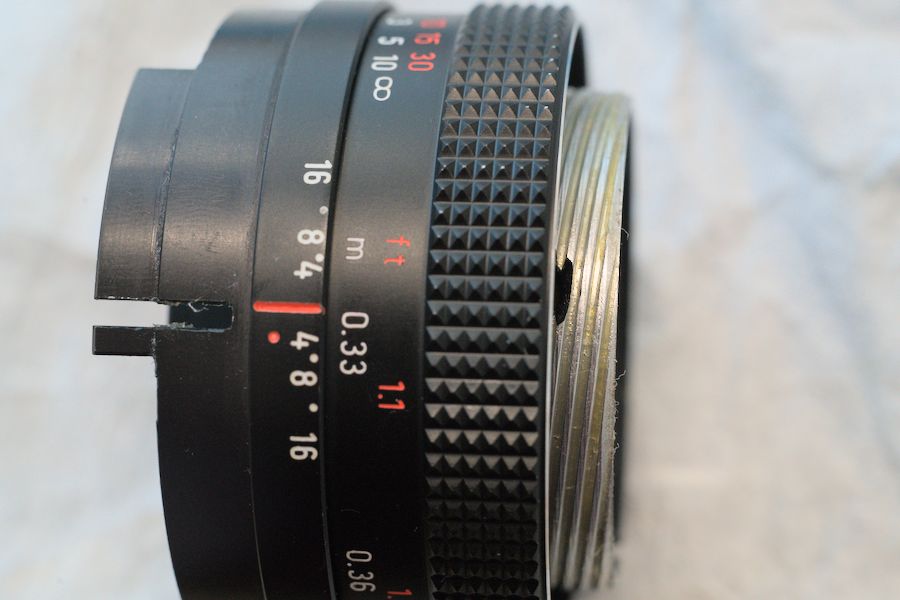
Set the focus to the minimum focus distance (0.33m) - and make sure it stays there,
Careful: When the helicoid key is removed, the helicoid can rotate freely.

At the minimum focus distance, start to extract the coarse helicoid - slowly! Remember where it was when you started ....
... and where exactly it becomes free. For my lens, it became free after about a 1/2-turn, when the U-shaped slot is at the 2.5ft mark. This is where it has to be inserted later.

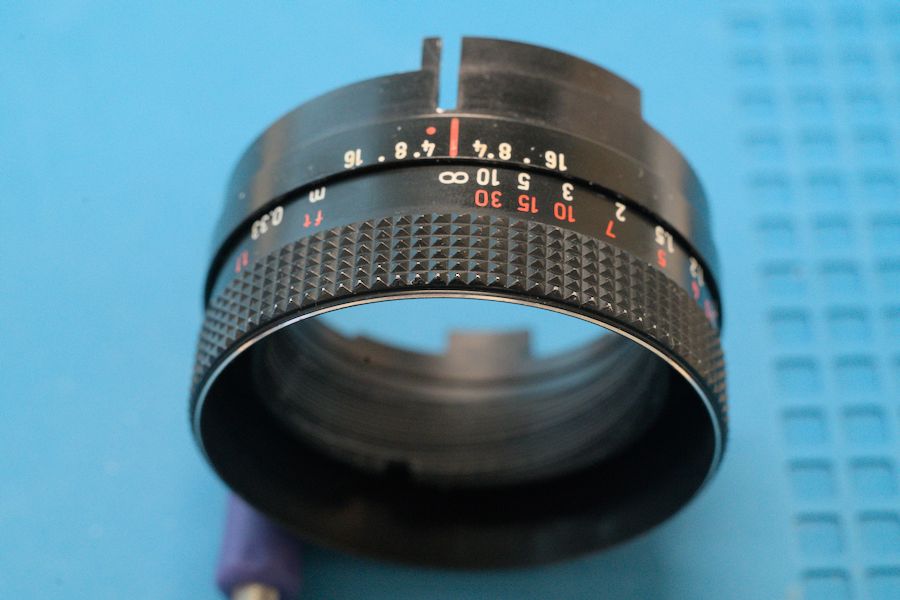
Before taking out the fine helicoid, I rotate the focus ring to infinity.
Now, keeping the ring at infinity, I remove the three screws that hold the focus ring. But I make sure to make a little scratch on both pieces (or see if there's already a mark), so I can place it back later exactly as it was at infinity. At the end, if your infinity focus is slightly off, you can loosen these screws and make fine adjustments.
When the three screws are out, before removing the fine helicoid, I test (and write down) how many turns it can be inserted (i.e. rotated clockwise) until it comes to a stop, starting from infinity (typically between 1/2 turn and 2 turns) - and then, back from the original infinity position, how many turns it takes to come out (typically between 4 and 7), and where exactly it comes out. You need this for the re-assembly.
[for my lens: starting from infinity the fine helicoid could be inserted about 350 degrees/almost a full turn. And, again from infinity, it came out after almost seven turns.]
Soaking in alcohol, then cleaning with cotton swabs.
Reassembly with just three small drops of helicoid grease.
Setting the focus to the minimum distance (0.33m) and inserting the coarse helicoid exactly where it came out.
And rotate it back (again: about 1/2 turn) until it ends up where it used to be when you started.
Just a small amount of grease on the helicoid key.
And make sure the helicoid key enters in the helicoid's U-shaped slot.
Putting the spring and the ball back, and adding the aperture ring.
Adding the ball for the A/M switch - and the switch.
When putting back the back piece, make sure that the slot of the bottom piece grabs the corresponding pin (both on the top in the picture).
That's it! The focus is easy and smooth, and the aperture is snappy. Plus: I know that every corner of this lens is clean, inside and outside. This lens will be fun to work with.
More of my lens repair tutorials can be found here.


No comments:
Post a Comment